Chocolate Honeycomb Bars
Highlighted under: Daily Collection
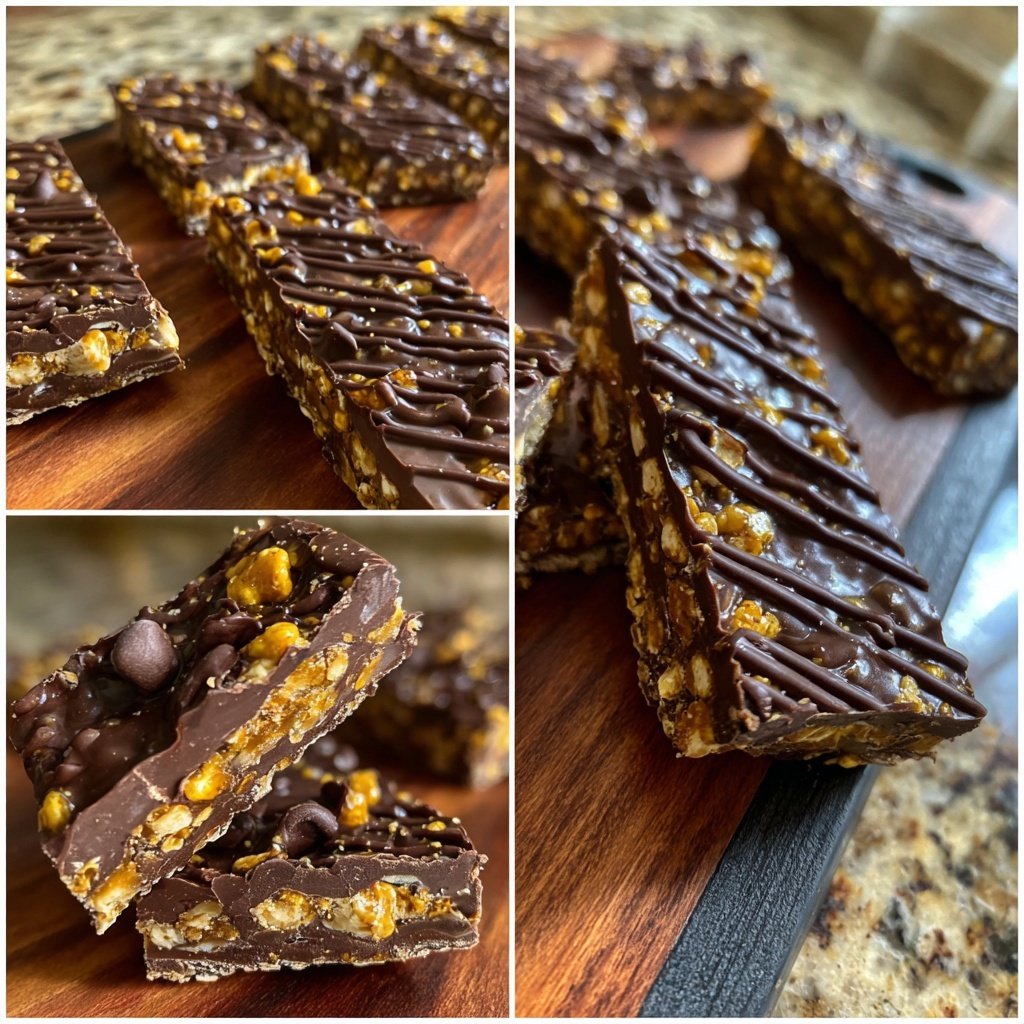
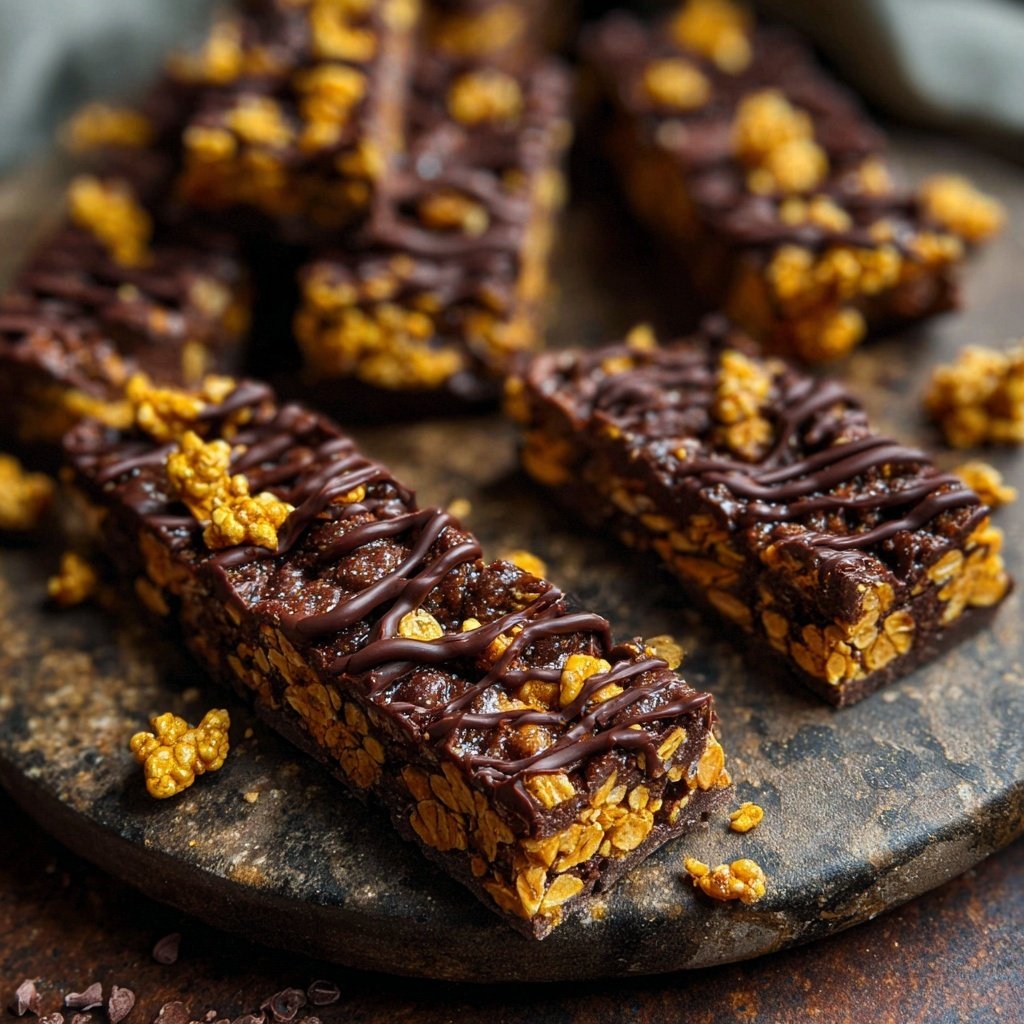
I’ve always had a soft spot for sweet treats, and these Chocolate Honeycomb Bars are a delightful blend of crispy, crunchy, and smooth textures. Every bite is a joyous experience, as the rich chocolate perfectly complements the light, airy honeycomb beneath. It’s amazing how just a few simple ingredients can transform into such a luxurious indulgence. Whether I’m sharing them at a gathering or enjoying them with a cup of coffee, these bars never fail to impress and satisfy my sweet tooth.
When I was first experimenting with candy-making, I stumbled upon the idea of combining honeycomb with chocolate. The first batch was a glorious mess, but I learned that patience is key. By controlling the temperature carefully and allowing the mixture to cool slightly before adding the baking soda, I achieved the perfect airy texture. Each subsequent attempt only got better as I refined my technique, and soon I was proud to serve these gorgeous bars to my family and friends.
The beauty of these Chocolate Honeycomb Bars is in their versatility. You can add nuts or even sea salt on top for an extra flavor kick. I love to switch it up based on what I have at home, making each batch a little different. Plus, cutting them into bite-sized pieces makes them the perfect treat for sharing or for a sweet snack anytime!
Why You'll Love This Recipe
- Rich chocolate flavor paired with crisp honeycomb texture
- A beautiful treat that’s perfect for sharing
- Simple ingredients come together to create a gourmet dessert
Understanding Honeycomb Texture
When making honeycomb, achieving the right texture is crucial. The mixture must reach a temperature of exactly 300°F, known as the hard crack stage. At this temperature, the sugar transforms into a brittle structure. Use a candy thermometer to avoid any guesswork; this step is essential for achieving that perfect crunch. If your mixture doesn’t bubble up sufficiently after adding the baking soda, it may not have reached the correct temperature, resulting in a denser texture rather than the desired airy lightness.
Once you pour the honeycomb mixture onto a greased baking sheet, let it cool undisturbed. Patience is key here; cooling should take at least 30 minutes until it hardens completely. You’ll know it’s ready when it feels firm to the touch. For a more uniform texture, use a cookie cutter to shape your honeycomb before coating it in chocolate, ensuring all pieces are coated evenly.
Optimizing Chocolate Coating
Choosing the right chocolate is vital for a glossy finish and balanced flavor in your Chocolate Honeycomb Bars. Dark chocolate with at least 60-70% cacao offers a rich, slightly bitter complement to the sweetness of the honeycomb. For a thinner coating, feel free to add more coconut oil, but reduce it cautiously to avoid compromising the chocolate’s integrity. Melting until just smooth prevents overcooking, which can lead to a grainy texture. Stir frequently while melting for even consistency.
When coating the honeycomb, use a fork to dip each piece fully into the chocolate and allow excess chocolate to drip off. This ensures a thin, even layer that won’t overpower the honeycomb's lightness. Setting these coated pieces on parchment paper is essential, as it prevents sticky residue while hardening. For an extra touch, sprinkle with coarse sea salt immediately before the chocolate sets to enhance both flavor and presentation.
Ingredients
Gather your ingredients before you start:
For the Honeycomb
- 1 cup granulated sugar
- 1/4 cup light corn syrup
- 1/2 cup water
- 1 tablespoon baking soda
For the Chocolate Coating
- 200g dark chocolate, chopped
- 1 tablespoon coconut oil (optional, for sheen)
Make sure every ingredient is fresh for the best flavor!
Instructions
Let's make these delicious bars step by step:
Prepare the Honeycomb
In a medium saucepan, combine sugar, corn syrup, and water. Cook over medium heat, stirring gently until the sugar dissolves. Increase the heat and allow the mixture to boil without stirring until it reaches 300°F (hard crack stage). Remove from heat and quickly stir in baking soda. The mixture will bubble up; pour it onto a greased baking sheet and let it cool completely.
Chop and Melt the Chocolate
Once the honeycomb is cooled and set, chop it into bite-size pieces. In a heatproof bowl, melt the dark chocolate and coconut oil over a double boiler or in the microwave in 30-second intervals, stirring until smooth.
Coat the Honeycomb
Dip each piece of honeycomb into the melted chocolate, ensuring they are fully coated. Place them on a parchment-lined baking sheet to set. Optionally, sprinkle a little sea salt on top before the chocolate hardens.
Slice and Serve
Once the chocolate is set, cut the bars into squares or rectangles. Enjoy your homemade Chocolate Honeycomb Bars with friends or save them for later!
Don’t forget to share your creations!
Pro Tips
- Using a candy thermometer will help you achieve the perfect consistency with the honeycomb. Experiment with different types of chocolate for varying flavors.
Storage and Shelf Life
To maintain the crunchy texture of your Chocolate Honeycomb Bars, store them in an airtight container. It's best to keep them at room temperature, away from heat sources and moisture, which can cause the honeycomb to soften. If stored properly, these bars can last for up to two weeks. Avoid refrigeration because the humidity can alter their crispness and texture, making them chewy rather than crunchy.
If you anticipate a longer period before enjoying these treats, consider freezing them. Flash freeze the bars by placing them on a baking sheet until solid, then store them in a freezer-safe container. When ready to enjoy, allow them to thaw at room temperature for a few minutes before serving, which helps restore the original texture.
Variations and Flavor Boosts
Consider adding flavors to your chocolate coating for a unique twist. A few drops of peppermint or orange extract mixed into the melted chocolate can enhance the overall experience, making your bars stand out. For those who enjoy a bit of crunch, incorporating crushed nuts or a sprinkle of toffee bits on top of the chocolate before it sets adds both texture and flavor contrast.
Additionally, the honeycomb can be experimented with different sweeteners. Using honey or maple syrup instead of granulated sugar will infuse natural flavors into the honeycomb and may slightly alter its reactivity, so always check for temperature consistency while cooking.
Questions About Recipes
→ Can I use milk chocolate instead of dark?
Yes, milk chocolate will give a sweeter flavor, but it may not set as firm as dark chocolate.
→ How should I store the honeycomb bars?
Store them in an airtight container at room temperature to keep them crispy.
→ Can I make this recipe ahead of time?
Absolutely! These bars can be made several days in advance and will still taste great.
→ What if my honeycomb didn’t puff up?
Ensure your baking soda is fresh and that you reached the right temperature; undercooking can prevent it from puffing.
Chocolate Honeycomb Bars
Created by: Helena Whitby
Recipe Type: Daily Collection
Skill Level: Intermediate
Final Quantity: 12 bars
What You'll Need
For the Honeycomb
- 1 cup granulated sugar
- 1/4 cup light corn syrup
- 1/2 cup water
- 1 tablespoon baking soda
For the Chocolate Coating
- 200g dark chocolate, chopped
- 1 tablespoon coconut oil (optional, for sheen)
How-To Steps
In a medium saucepan, combine sugar, corn syrup, and water. Cook over medium heat, stirring gently until the sugar dissolves. Increase the heat and allow the mixture to boil without stirring until it reaches 300°F (hard crack stage). Remove from heat and quickly stir in baking soda. The mixture will bubble up; pour it onto a greased baking sheet and let it cool completely.
Once the honeycomb is cooled and set, chop it into bite-size pieces. In a heatproof bowl, melt the dark chocolate and coconut oil over a double boiler or in the microwave in 30-second intervals, stirring until smooth.
Dip each piece of honeycomb into the melted chocolate, ensuring they are fully coated. Place them on a parchment-lined baking sheet to set. Optionally, sprinkle a little sea salt on top before the chocolate hardens.
Once the chocolate is set, cut the bars into squares or rectangles. Enjoy your homemade Chocolate Honeycomb Bars with friends or save them for later!
Extra Tips
- Using a candy thermometer will help you achieve the perfect consistency with the honeycomb. Experiment with different types of chocolate for varying flavors.
Nutritional Breakdown (Per Serving)
- Calories: 320 kcal
- Total Fat: 18g
- Saturated Fat: 10g
- Cholesterol: 0mg
- Sodium: 5mg
- Total Carbohydrates: 38g
- Dietary Fiber: 1g
- Sugars: 30g
- Protein: 3g